Introduction
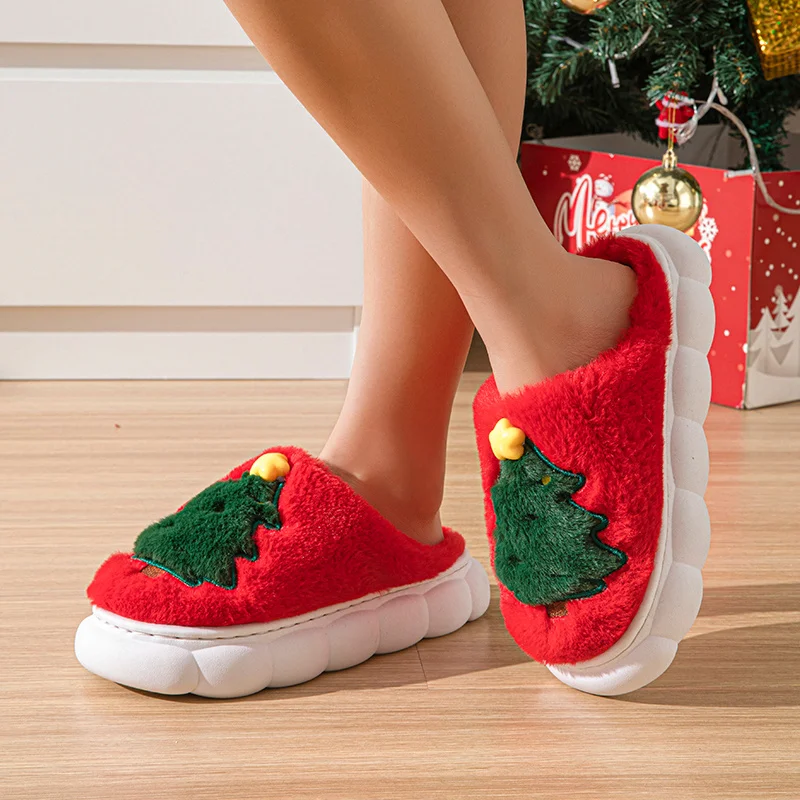
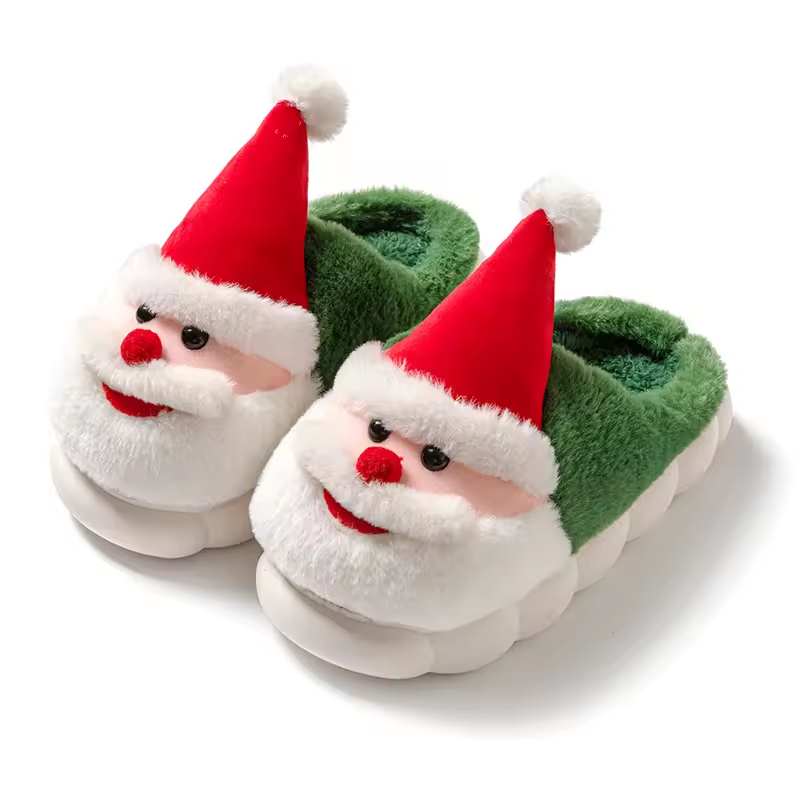
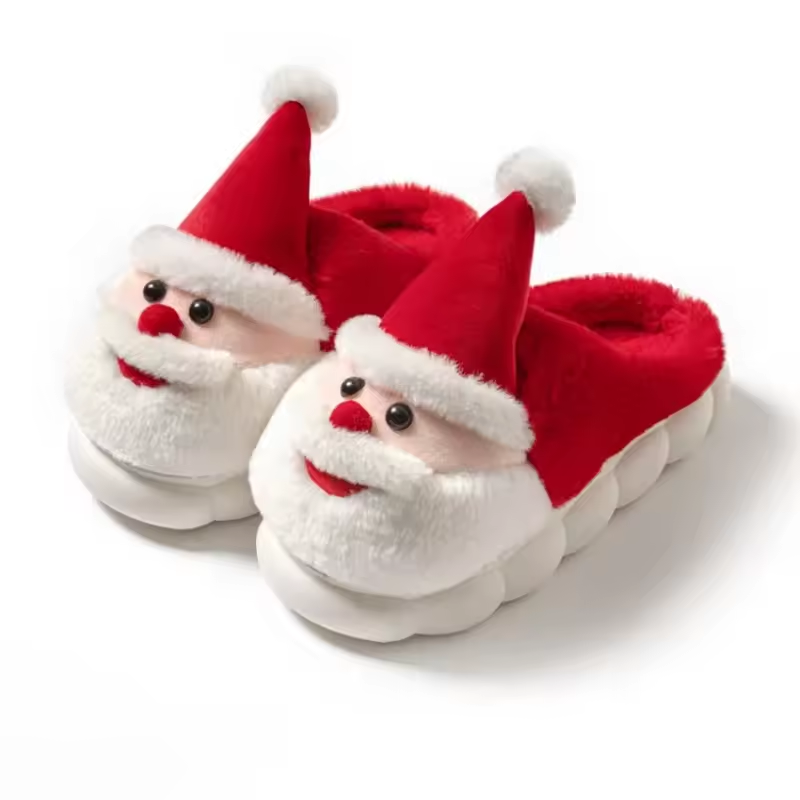
When the holiday season approaches, many people look forward to cozying up at home. Christmas slipper is a delightful way to keep your feet warm while adding festive cheer to your holiday attire. Making your own Christmas slipper can be a fun and rewarding project, and in this guide, we will take you through step-by-step instructions to create your very own pair.

Why Make Christmas Slippers
Creating your own Christmas slippers has many advantages. First, they make perfect gifts. You can craft a unique pair for family and friends, showing them that you’ve put in the time and effort to create something special. This creates a lasting memory, as handmade gifts often hold more sentimental value than store-bought ones. Second, you’ll have complete control over the design and materials. You can choose patterns, colors, and textures that align perfectly with your personality or the aesthetic you want to achieve. Lastly, making your slippers can be a meditative and therapeutic process. The repetitive motions and creative flow can be quite satisfying.
Materials Needed for Christmas Slippers
Before you dive into making your Christmas slipper, it’s essential to gather all the materials you’ll need. Here’s a checklist to guide you:
Fabric Choices
Choosing the right fabric is crucial. You can opt for fleece, flannel, or cotton for the outside of the slipper. If you want your slippers to be extra warm, fleece is an excellent choice. Not only is it soft, but it is also very warm and comfortable. Cotton can be a more breathable fabric but might not provide the same level of warmth for chilly winter nights.
Lining Material
The lining of the slipper can be made from a soft and warm material. Options include Sherpa, soft cotton, or even colorful felt. Pick something that feels good against the skin, as it will be the part that contacts your feet the most.
Sole Material
For the sole of the slippers, you can use thick felt, rubber, or a similar sturdy material. A rubber sole will provide traction and safety, while felt can offer a softer feel but might not be as durable.

Other Supplies
In addition to fabric, you’ll need sewing supplies. Gather scissors, needles, thread (make sure to choose a color that matches your fabric), and pins. If you have a sewing machine, it can speed up the process, but sewing by hand is equally acceptable. You’ll also need a pattern for your slippers, which you can either purchase or create yourself.
Step 1: Create a Pattern
Designing Your Slipper Pattern
Creating your slipper pattern is the first step in this exciting project. You can find a basic slipper pattern online or modify an existing one to suit your style. If you decide to create your own pattern, here are the steps to guide you.
Start with measuring your foot length and width. Use a measuring tape to ensure that you have accurate dimensions. After measuring, you can draw your slipper pattern on a piece of paper. Think about the basic shape of the slipper, which is usually a rounded toe and a slightly raised heel. Once you have your basic shape, add seam allowances of about half an inch all around.
Cutting the Pattern
Once you are satisfied with your design, the next step is to cut out your pattern pieces. You’ll typically need:
- Two main pieces for the outer layer
- Two lining pieces
- Two sole pieces
Make sure to trace your pattern onto a piece of fabric and cut it out carefully. Double-check your cuts for accuracy. If you make any mistakes, you can always use extra fabric for practice.
Step 2: Assemble the Slippers
Attaching the Lining and Outer Fabric
With all your pattern pieces cut out, it’s time to start assembling your slippers. Begin by taking one outer layer piece and matching it with one lining piece. Place them with the right sides together. Pin along the edge to secure them in place.
Using your sewing machine or needle and thread, sew the two pieces together, leaving the back open. Repeat this process for the second slipper. Make sure your stitches are even and secure to prevent any ripping later.
Turning the Slippers Right-side Out
Once you’ve completed the sewing for both slippers, it’s time to turn them right-side out. This is where the magic happens! Carefully reach into the opening and pull the lining through until the outer fabric is on the outside. You can use a wooden dowel or a similar object to help push the corners out gently.

Attaching the Soles
Now it’s time to attach the soles. Take your sole pieces and line them up with the bottom of each slipper. Pin them in place and sew around the edges to attach them securely. This step is crucial, as the sole will provide durability and function for your slippers.
Step 3: Adding Decorative Touches
Embellishing Your Slippers
Now that you have basic slippers assembled, you can start thinking about decorations. This is the fun part where you bring your creativity to life!
Consider adding festive elements to your slippers, such as:
- Buttons: Sew on some cute buttons that match your fabric.
- Appliqués: Add fabric shapes like snowflakes or Christmas trees stitched onto the slippers.
- Embroidery: If you enjoy sewing, embroidery can be a lovely touch. Write a festive message or stitch a simple design.
Personalizing with Names
If you are making the slippers as gifts, personalizing them with names adds a sweet touch. You can do this using embroidery or fabric paint. Adding the name will make the slippers feel more special and unique to the recipient.
Step 4: Finishing Touches
Cleaning Up the Edges
Once you’ve added decorations and embellishments, it’s time to finish your slippers properly. Trim any excess threads and make sure all your seams are neat and tidy. If there are any raw edges, consider using a zigzag stitch to prevent fraying.
Final Inspection
Before declaring your Christmas slippers complete, take a moment to inspect your handiwork. Make sure all your stitches are secure and check for any areas that need reinforcement.
Test the Fit
Put your slippers on to make sure they fit comfortably. Walk around in them for a few minutes to ensure that they are the right size and feel good. If they are too large, consider adding an insole or using thicker socks.
Step 5: Enjoy Your Creation
Rocking Your Christmas Slippers
Now that you have completed your Christmas slippers, it’s time to enjoy them! Wear them around the house as you sip on hot cocoa or as you sit by the fire. These slippers are not just footwear; they are a cozy reminder of the joy of creating something special with your own hands.
Sharing with Friends and Family
If you’ve crafted multiple pairs, don’t hesitate to share your creations with family and friends. Host a holiday gathering where everyone can showcase their slippers. It creates a fun and festive atmosphere. You could even consider starting a Christmas tradition where family members make and exchange handmade slippers every year.
Conclusion: The Joy of Handmade Slipper
In conclusion, making Christmas slipper can be an enriching experience filled with creativity and joy. By following these simple, step-by-step instructions, you can craft a beautiful pair that encapsulates the spirit of the holiday season. Whether for yourself or as gifts for loved ones, these slippers will keep you warm and remind you of the fun you had making them.
Your handmade Christmas slipper will not only be cozy and warm during the cold winter months but will also serve as a cherished reminder of the time and love invested in their creation. So gather your materials, follow the steps outlined, and let your creativity flourish this holiday season!